This final post in my initial series will focus on our
projector system and the mirrors used in conjunction with it. I’ve mentioned
previously that you will likely have to make modifications based on the
physical layout of your facility and that you’d need to accommodate for the
growing needs of your user base. Well our projector system is the perfect
example of both of those situations coming into play! We modified just about
every aspect of the projector and created several different mirrors in order to
provide the best possible visual presentation solutions for our users. Even
though I’ll be showing you all of the changes, I don’t expect there will be
another center out there that will require doing the exact same setup. But you
never know!
The Projector: before
and after we got our hands on it
The projection system we have is the SV-6011 model from
Avotec. Below are pictures before and after we made all our modifications. Please
excuse my poor photoshop skills, but we have no high-resolution pictures
available of the initial setup at the time of purchase and I really wanted to showcase just how much work was put into the new stand.
 |
| Figure 1 - Projector before modifications |
 |
| Figure 2 - Projector after modifications |
What a makeover, right? Let’s zoom in and go over all the changes (Note 1). For starters, and I’m sure you can tell, we replaced the stand with one that is far more stable (Figures 1 and 2), but with less mobility. There’s still a bit of wobble, but it is substantially decreased.
 |
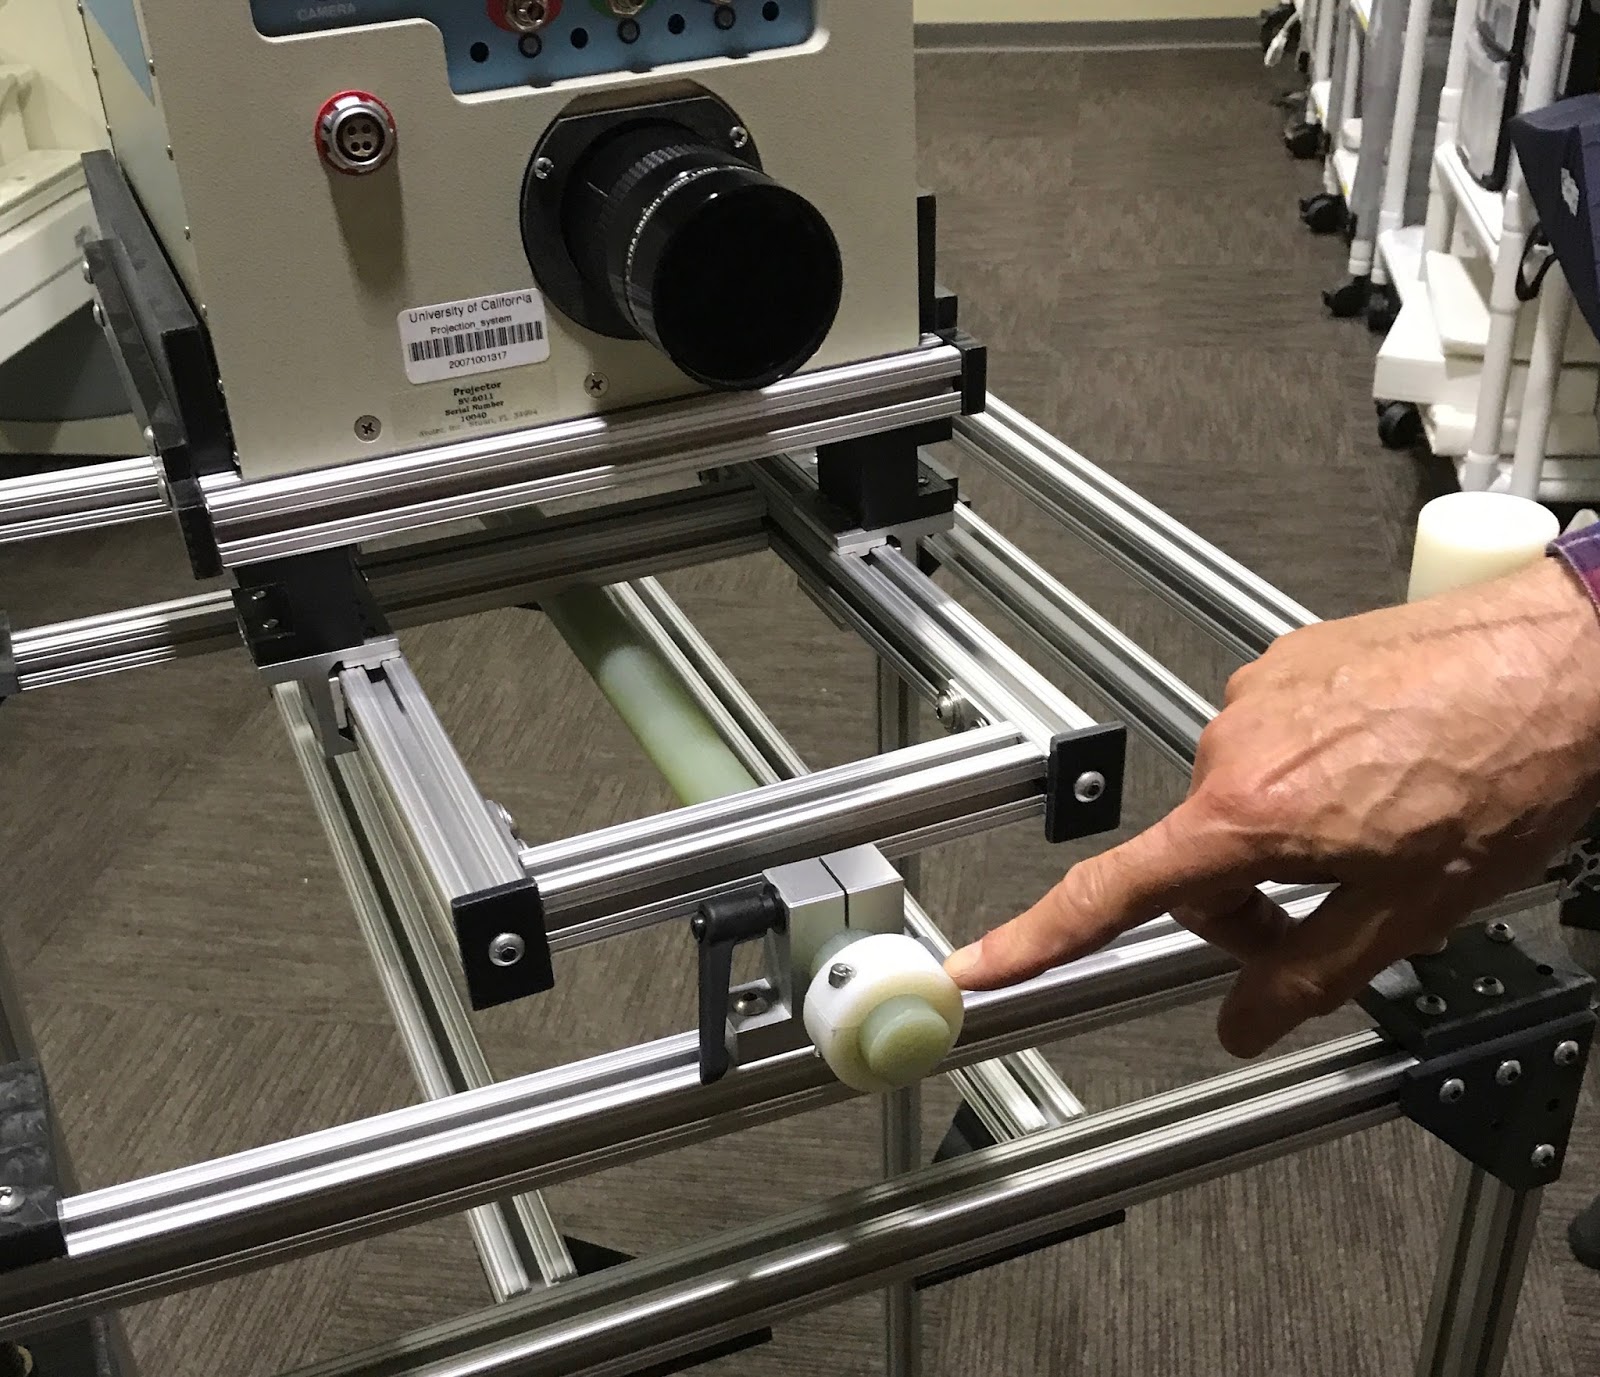
| Figure 3 - know for rotation, forward and aft movement of projector |
 |
| Figure 4 - Knob for raising and lowering each individual corner |
Fine tuning options were requested by our users and
allow for movement of the projector without having to physically pick it up every time someone wants to adjust a setting. Even just trying to adjust the video settings and focus would cause enough wobble that the projector would move, forcing us to start the process over again. This was not a deal breaking issue but most of our researchers work on a tight scanning schedule so keeping prep time to a minimum is crucial. Next we replaced the lens (Figure 5) to increase the focal length, which was needed after
making all the adjustments mentioned above. This allows us to place the projector roughly 70 inches away from the screen and obtain images as large as 8.5 inches wide by 6 inches high.
 |
| Figure 5 - Front of projector with new lens |
The final change we made to the projector system is possibly
the biggest. The Avotec unit comes with it’s own
cooling system to keep the projector from overheating. We found that ours was getting so much daily use that overheating because an issue. To
combat this a separate cooling and moisture removing system were purchased (Figure 6). Then we tapped into the airflow provided by our building so as not to rely on an extra pump. It might be overkill for some other facilities but it
completely eliminated the issue for us.
 |
| Figure 6 - Upgraded cooling and moisture removal system |
Projector Screen Upgrade
Although the screen supplied with the projector was
adequate for the default setup, our users requested a new one be designed in
order to better accommodate the larger image sizes that are obtainable with the
upgraded lens (Figure 7).
 |
| Figure 7 - Modified projector screen |
The base of the screen lines up perfectly with the bed tracks
inside the bore, so positioning it is a simple matter of sliding the unit into the back of the magnet (Figure 8). You have to be careful though! Resting on the bed tracks means the screen moves if the bed is driven too far past isocenter, while doing cardiac scans for example. If you're not paying attention the screen could easily fall out the back of the bore and shatter, thus inconveniencing all users until a replacement can be constructed. Although not pictured, we have colored strips of tape
inside the bore that are used to position the screen in the same location each
time (Note 2).
 |
| Figure 8 - Image on screen inside the magnet bore |
Mirror, Mirror on the
shelf: Our mirror collection
If you thought our projector had tons of modifications then
just wait until you get a load of our mirror collection! For reference, we currently
have three head coils in our facility that see regular use: 12 channel, 32
channel, and a birdcage for use with a real-time TMS system.
 |
| Figure 8 - 12 Ch. head coil |
 |
| Figure 9 - 32 Ch. head coil |
 |
| Figure 10 - Custom birdcage coil |
Having so many specialized mirrors was done out of necessity. The original Siemens mirror was not sufficient at all, as anyone with a Trio will tell you! Building our own allowed for customization in order to tackle very specific problems and setups. In this instance it’s easiest to show rather than tell, so
I’ll run through each of them with a photo and a brief caption.
 |
| Figure 10 - 12 Ch. surface coil mirror |
 |
| Figure 11 - 12 Ch. Avoce eye tracking mirror |
The Avotec eye tracking system came with a mirror very similar to the one pictured above but a bit of tinkering was done to optimize functionality. Green felt was also glued to the sides in order to eliminate some reflection issues.
 |
| Figure 12 - Attachment for using 12 Ch. eye tracking mirror with birdcage coil |
The birdcage coil is not used often and is tricky to design for. Thankfully our engineer was able to design an attachment to make one of our existing mirrors useable (Figure 12).
 |
| Figure 13 - 12 Ch. surface coil mirror |
 |
| Figure 14 - 12 Ch. full coil mirror |
The two off-white 12 Ch. mirrors were the first ones designed. After that we switched to a matted black plastic for the construction. This was done in order to cut down on the amount of light from the projector that was being reflected back.
 |
| Figure 15 - 32 Ch. Avotec eye tracking mirror |
 |
| Figure 16 - 32 Ch. full coil mirror |
The biggest factor that contributed to these designs were the limitations imposed by the coils and the MRI machine itself. Designing mirrors that not only function as intended but also fit the strict physical constraints imposed on us was no easy task. Our in-house engineer has decades of experience and constructed these individual mirrors over the course of several years, so don't feel too overwhelmed if these sorts of projects seem lofty or outside your realm of expertise. But that's sort of the point of this blog, right? To pass on the knowledge! The hard work (designing the mirror system), has already been done. Getting
the supplies and having someone build it for you is a considerably easier task.
Note 1: Unless stated otherwise, all modifications, mirrors,
screen holders, etc. were made by our in-house engineer using MRI safe
materials. Contact me if you have any design questions.
Note 2: Having so many options for controlling the projector
means researchers could potentially have vastly different setups. One might use
a larger image, or raise the projector an inch on the right, etc. This makes it
ESSENTIAL that everyone understand and feel comfortable with the projector
controls. Otherwise you’ll be inundated with emails from angry researchers constantly
complaining about the last person to use the projector and how they left it a
mess! Keeping accurate and simple documentation handy in the control room is also an option.
Note 3: Not just any mirrors will do! We purchased first surface mirrors to eliminate ghosting, cold mirrors that allow IR through for use with the eye tracker, etc. Again, contact me if you'd like more details.


No comments:
Post a Comment